
Anúncios
Introduction
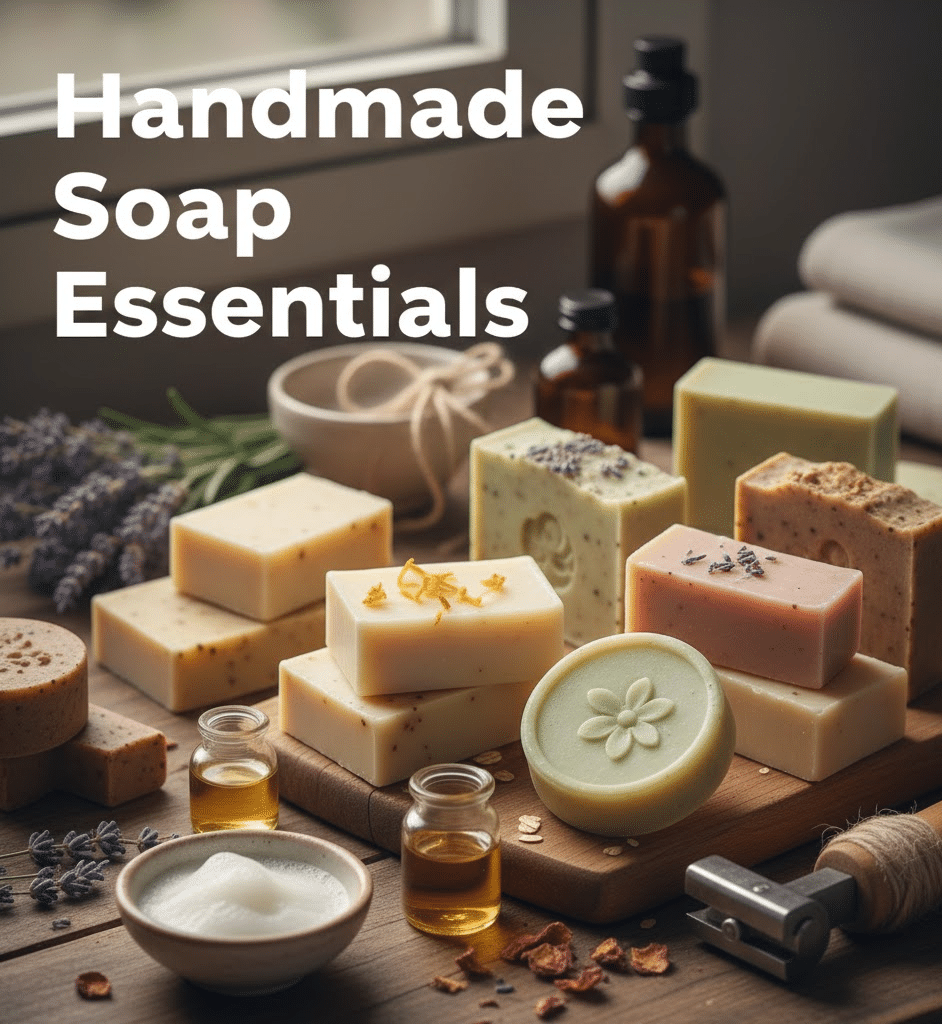
Making handmade soaps at home is an incredibly enriching craft that blends creativity, practicality, and self-care. People around the world are embracing natural products, and because of this increasing interest, handmade soap has gained remarkable popularity. Although commercial soaps are widely available, many contain synthetic additives, artificial fragrances, and ingredients that may irritate the skin. For this reason, creating your own soap offers full control over what touches your body. It also allows you to design bars that match your personal needs, aesthetic preferences, and skin type.
As you begin this journey, you will quickly notice that soap-making is both an art and a science. Each ingredient contributes something unique, every method delivers different results, and each recipe opens doors to endless combinations. Moreover, the process transforms simple oils and natural materials into something beautiful and functional. Because the learning curve is manageable, beginners can start creating soap with confidence and gradually explore more advanced techniques.
Anúncios
To help you succeed, this comprehensive guide explains how to make handmade soaps from scratch, covering essential tools, safety guidelines, techniques, step-by-step instructions, and creative ideas. Throughout the text, you will also find transition expressions to guide the flow and avoid repetitive wording. Ultimately, by the end of this article, you will feel fully equipped to craft your own luxurious soaps at home.
Understanding How Soap Works
Soap is created through a chemical reaction called saponification, which happens when fats or oils mix with a strong alkaline substance. Although the term may sound intimidating, the process becomes quite straightforward once safety procedures are followed. Furthermore, understanding the basics helps you choose ingredients wisely and prevent common mistakes.
What Makes a Soap a “Soap”?
A true soap forms when an oil molecule binds with lye and transforms into a new substance. This reaction neutralizes the harshness of lye completely. Consequently, no lye remains in the final bar when the recipe is properly formulated. Because each oil behaves differently, the composition of the soap will vary depending on the combination used.
Anúncios
Why Make Soap at Home?
There are several compelling reasons to craft soaps manually:
- Customization: You can choose fragrances, colors, oils, and textures.
- Natural ingredients: No synthetic detergents or harsh chemicals.
- Eco-friendly: Less packaging and fewer industrial processes.
- Cost-effective: Once you gather materials, homemade bars become inexpensive.
- Creative expression: Each soap becomes a unique piece of art.
Additionally, handmade soap makes thoughtful gifts and can evolve into a small business opportunity.
Methods of Soap-Making
Because not all soaps are created using the same process, choosing the appropriate method depends on your skill level and goals. Below are the most common approaches, each offering distinct benefits.
Cold Process Method
The cold process method is the most traditional technique. It requires mixing oils with a lye solution at moderate temperatures. Although the soap needs several weeks to cure, this method offers unparalleled customization. Furthermore, cold process soap often has a smooth, elegant finish.
Hot Process Method
Hot process soap is similar to cold process, but the mixture is cooked to accelerate saponification. As a result, cure time is shorter, and the soap has a rustic texture. While designs are somewhat limited, hot process is perfect for those who want usable soap sooner.
Melt and Pour Method
This beginner-friendly method uses a pre-made soap base. You simply melt it, add fragrance or color, and pour it into molds. Since no lye handling is required, the process is extremely safe. In addition, melt and pour allows beautiful designs and fast results.
Rebatching Method
Rebatching involves grating existing soap, melting it, and adding new ingredients. This method minimizes risk and is ideal for adjusting a batch that didn’t go as planned. Although texture may be less smooth, rebatching ensures little waste.
Essential Tools and Equipment
Gathering the correct tools ensures consistent results and keeps the workspace safe. Although many items may already exist in your kitchen, reserve them exclusively for soap-making to avoid contamination.
Essential tools include:
- Stainless steel or heat-resistant bowls
- Digital scale for precise measurements
- Heatproof silicone spatulas
- Stick blender
- Thermometer
- Silicone molds
- Measuring cups
- Rubber gloves
- Safety goggles
Because accuracy is crucial in soap-making, using high-quality equipment prevents errors, ensures safety, and guarantees a successful final product.
Ingredients and Their Functions
Handmade soap consists of four fundamental components: oils, lye, liquid, and additives. Understanding the role of each element helps you design bars with desirable characteristics.
Oils and Fats
Each oil contributes different qualities:
- Olive oil: gentle, moisturizing
- Coconut oil: cleansing, bubbly lather
- Palm oil: adds hardness (ethically sourced options recommended)
- Shea butter: deeply nourishing
- Cocoa butter: firm and conditioning
- Castor oil: boosts lather
Additionally, combining multiple oils creates balance and improves texture.
Lye (Sodium Hydroxide)
Lye is essential for traditional soap-making. Even though it must be handled carefully, once saponification occurs, it is no longer present. Because safety is vital, proper protective gear is always required.
Liquids
Most recipes use distilled water. However, alternatives can enhance the soap, such as:
- Aloe vera juice
- Herbal tea
- Rice water
- Goat milk
- Coconut milk
Since milk-based liquids can heat rapidly when lye is added, they require additional caution.
Additives
To personalize your soap, consider adding:
- Essential oils
- Natural colorants like clays or plant powders
- Exfoliants such as oatmeal, seeds, or coffee grounds
- Botanicals like lavender or rose petals
- Activated charcoal
Moreover, each additive can enhance scent, appearance, or skin benefits.
Safety Guidelines
Because lye is a caustic substance, safety is essential. Nevertheless, with proper precautions, soap-making becomes a secure and enjoyable experience.
Important safety rules include:
- Work in a well-ventilated area
- Wear goggles and gloves
- Add lye to water, never the reverse
- Mix slowly to avoid splashes
- Keep vinegar nearby for neutralizing small spills
- Store lye away from moisture
- Keep children and pets out of the workspace
Furthermore, maintain full focus during each step to avoid accidents.
Preparing Your Workspace
Before beginning, organize all tools and ingredients. This preparation simplifies the workflow and reduces potential mistakes. Since soap-making involves precise timing, having everything ready ensures a smoother process. Additionally, placing molds on a level surface prevents uneven bars during curing.
Step-by-Step: Cold Process Soap
Cold process soap is ideal for those who want complete creative freedom. Below is a detailed step-by-step method.
Step 1: Measure Ingredients Carefully
Because accuracy determines success, weigh all oils, liquids, and lye using a digital scale. Even slight errors can alter the final product.
Step 2: Mix the Lye Solution
Pour lye into the liquid slowly. The mixture will heat instantly, and fumes may appear. Therefore, avoid breathing directly above the container. Let the solution cool before combining it with oils.
Step 3: Melt and Blend the Oils
Warm the solid oils until melted, then add liquid oils. Stir until the mixture reaches a suitable temperature, typically close to the lye solution’s heat.
Step 4: Combine Lye and Oils
Because saponification begins immediately, pour the lye mixture gradually into the oils. Use a stick blender to emulsify the mixture until light trace appears.
Step 5: Add Enhancements
Once trace is reached, incorporate essential oils, colors, or exfoliants. Stir gently to avoid accelerating trace.
Step 6: Pour into Molds
Pour the batter smoothly into molds. Tap the mold lightly to eliminate air bubbles.
Step 7: Insulate and Cure
Cover the mold with a towel and let it rest for 24–48 hours. After unmolding, cure bars in a ventilated area for 4–6 weeks to harden fully.
Step-by-Step: Melt and Pour Soap
Because this method is so simple, it is perfect for children, beginners, or quick projects.
Step 1: Cut the Base
Slice the base into small cubes for even melting.
Step 2: Melt the Soap
Heat gently in a microwave or double boiler.
Step 3: Add Scents and Colors
Mix in fragrance, colorants, or botanicals.
Step 4: Pour into Molds
Fill molds carefully and avoid bubbles.
Step 5: Cool and Unmold
Once solid, remove the bars and wrap them.
Design Techniques for Creative Soap
Soap design is one of the most exciting parts of the craft. As you gain experience, experimenting becomes even more rewarding.
Swirling Techniques
Popular swirling options include:
- In-the-pot swirl
- Drop swirl
- Chopstick swirl
- Funnel pour
- Layered swirl
Furthermore, varying color density creates dramatic visual effects.
Textured Tops
Using spoons or spatulas, you can create ripples, waves, or peaks. In addition, sprinkling botanicals enhances the aesthetic.
Exfoliating Additions
Consider adding:
- Poppy seeds
- Oatmeal
- Ground coffee
- Fine sugar
Because these provide gentle exfoliation, they improve both appearance and function.
Botanical Designs
Decorating the top of the soap with dried herbs, flowers, or citrus slices adds charm. However, choose botanicals carefully to prevent browning over time.
Citations in Bullet Form
Below are sample academic-style citations expressed in short form:
- “Natural oils contribute different nourishing properties to handmade soap.”
- “Accurate measurement remains essential for balanced saponification.”
- “Cold process soap provides superior customization potential.”
- “Lye must always be handled with appropriate safety precautions.”
Tips for Consistent Success
To improve your soap-making skills:
- Take notes of each recipe variation
- Start with small batches
- Use distilled water only
- Avoid overheating fragrances
- Test colorants before full batches
- Allow proper curing time
Moreover, practicing consistently will develop intuition and familiarity with ingredients.
Troubleshooting Common Issues
Even skilled soap-makers face challenges. Fortunately, most problems have simple solutions.
Soap Separating
Stir again and ensure temperatures match next time.
Soap Too Soft
Extend curing time or reduce water content in future batches.
Ricing or Acceleration
Some fragrances cause rapid thickening. Add them at lower temperatures.
Soda Ash
Cover the mold immediately or spray alcohol on the surface to prevent it.
Uneven Texture
Blend thoroughly until full emulsification.
Packaging and Storing Handmade Soap
Presentation matters, especially if you plan to sell your creations. Simple ideas include:
- Kraft paper wrapping
- Fabric pouches
- Personalized labels
- Cardboard boxes
- Twine or ribbon accents
Store soaps in a cool, dry, ventilated area to preserve fragrance and firmness. Furthermore, avoid sealing them in airtight containers because natural soap needs airflow.
Turning Soap-Making Into a Business
Handmade soap can become a profitable business with careful planning. Consider these points:
- Follow local cosmetic regulations
- List all ingredients on labels
- Test products for quality and stability
- Maintain consistent formulations
- Determine pricing based on cost and time
- Build an online presence
In addition, networking with craft fairs and local markets helps increase visibility.
Sustainability in Soap-Making
Eco-friendly soap-making is increasingly important. To create sustainable products:
- Choose biodegradable ingredients
- Avoid unnecessary synthetic additives
- Use minimal packaging
- Select ethical suppliers
- Reuse materials when possible
Consequently, your soaps become beneficial not only for users but also for the environment.
Conclusion
Learning how to make handmade soap is a rewarding journey filled with creativity, experimentation, and satisfaction. By understanding the science behind saponification, gathering the right tools, practicing essential safety measures, and exploring various techniques, you can craft soaps that are both beautiful and beneficial. Additionally, the process encourages sustainability and personal expression, while also opening opportunities for entrepreneurship. With dedication and curiosity, anyone can develop exceptional soap-making skills and turn simple ingredients into luxurious, skin-loving creations.